How to Prep Your Camper for Long-Term Storage in Atlanta
Travel trailers and campers sit for longer than they're used. Even active campers might take their rig out 15-20 times per year, meaning it sits in storage for 300+ days annually. How you prepare for those storage periods determines whether your camper is ready to go when you want it, or whether you're dealing with dead batteries, musty interiors, and worse.
The Baseline: What Every Storage Period Needs
These steps apply whether you're storing for 2 weeks or 6 months.
1. Empty and Clean the Interior
Remove all food. Even sealed items can attract pests. The chocolate bar in the drawer or crackers in the cabinet need to go.
Empty the refrigerator. Clean thoroughly. Leave the door propped open slightly to prevent mold and odors.
Take out trash. Any organic material becomes a problem over time.
General cleaning. Sweep floors, wipe surfaces, deal with anything that could create odors or attract critters.
2. Manage Holding Tanks
Black tank: Empty completely. Add a tank treatment and some water, let it sit for a few hours, then dump again. Leaving waste in the tank causes permanent odor issues and sensor damage.
Gray tank: Empty completely.
Fresh water tank: Drain if storing more than a week. Don't leave water sitting—it breeds bacteria.
3. Battery Decisions
Option A: Disconnect the battery
- Prevents parasitic drain
- Battery will slowly lose charge over months
- You'll need to charge or jump when retrieving
Option B: Use a battery maintainer
- Keeps battery at proper charge
- Requires electrical access at storage
- Better for long-term battery health
Option C: Remove the battery
- Best protection
- Store indoors in moderate temperatures
- Use a maintainer at home
4. Propane Management
- Turn off propane at the tank
- Some storage facilities require propane tanks to be turned off or removed
- Check facility policies
5. Secure Everything
- Lock all doors and storage compartments
- Close and latch all windows
- Retract awning
- Stow any exterior items (steps, hitches, accessories)
Seasonal/Winter Storage (November-March)
Georgia winters aren't severe, but they require specific preparation.
Water System Winterization
The biggest risk is freeze damage. A single hard freeze can crack pipes, destroy pumps, and damage water heaters.
Drain-only method:
- Drain fresh water tank completely
- Open all faucets (hot and cold)
- Flush toilet to empty bowl
- Open water heater drain plug
- Run water pump briefly to clear lines
- Leave faucets cracked open
Limitations: Residual water in low spots can still freeze.
Full antifreeze method (recommended for extended storage):
- Drain fresh water system
- Bypass water heater (if equipped with bypass valves)
- Add RV antifreeze to the system using pump intake or winterizing kit
- Run each faucet until pink antifreeze appears
- Flush toilet until antifreeze appears
- Pour antifreeze into drains to protect P-traps
Cost: $10-20 in RV antifreeze
Exterior Winterization
Roof inspection: Check all seams, vents, and fixtures. Reseal any questionable areas. Winter rain and occasional snow/ice will find any weakness.
Tires: Check pressure. Cover if in outdoor storage to protect from UV.
Cover the camper: A quality cover protects from debris, UV, and weather. Use a cover designed for RVs with proper support to prevent water pooling.
Long-Term Storage (6+ Months)
Extended storage requires additional attention.
Moisture Control
Georgia humidity causes mold and mildew quickly.
Use moisture absorbers:
- Place DampRid or similar products throughout the interior
- Focus on bathroom, kitchen, under cushions, and closets
- Plan to replace every few months if possible
Ventilation considerations:
- Vent covers that allow airflow while keeping rain out
- Don't completely seal the camper—trapped moisture causes problems
Pest Prevention
Rodents love campers. They nest in insulation, chew wires, and destroy upholstery.
Prevention:
- Seal any openings (even small ones—mice can squeeze through tiny gaps)
- Place mothballs in socks or containers inside (don't let them contact surfaces)
- Steel wool in any exhaust or pipe openings
- Electronic repellents (effectiveness debated but harmless to try)
- No food left inside—none at all
Tire Care
Flat spots develop when campers sit for months, especially in heat.
Mitigation:
- Over-inflate slightly (3-5 PSI above normal)
- Use tire covers to block UV
- Consider moving the camper periodically to change contact points
- For very long storage, consider jack stands to take weight off tires
Before Retrieval
Visual Inspection
Before using after storage:
- Walk around the exterior looking for damage, leaks, or pest evidence
- Check the roof carefully
- Inspect tires for damage or flat spots
- Look under the camper for anything unusual
Systems Check
Water system:
- If winterized with antifreeze, flush the system thoroughly
- Refill fresh tank
- Run each faucet until water runs clear
- Check for leaks at all connections
Propane:
- Turn on at tank
- Check connections with soap solution (bubbles indicate leaks)
- Test appliances
Electrical:
- Reconnect or reinstall battery
- Test lights, outlets, and appliances
- Check breakers and fuses
Brakes and running gear:
- Check trailer brake operation
- Grease bearings if not recently done
- Verify all lights work
First Trip After Storage
Don't plan an ambitious first trip after long storage. Do a short shakedown trip to:
- Verify everything works
- Find any problems before you're far from home
- Reacquaint yourself with the camper's systems
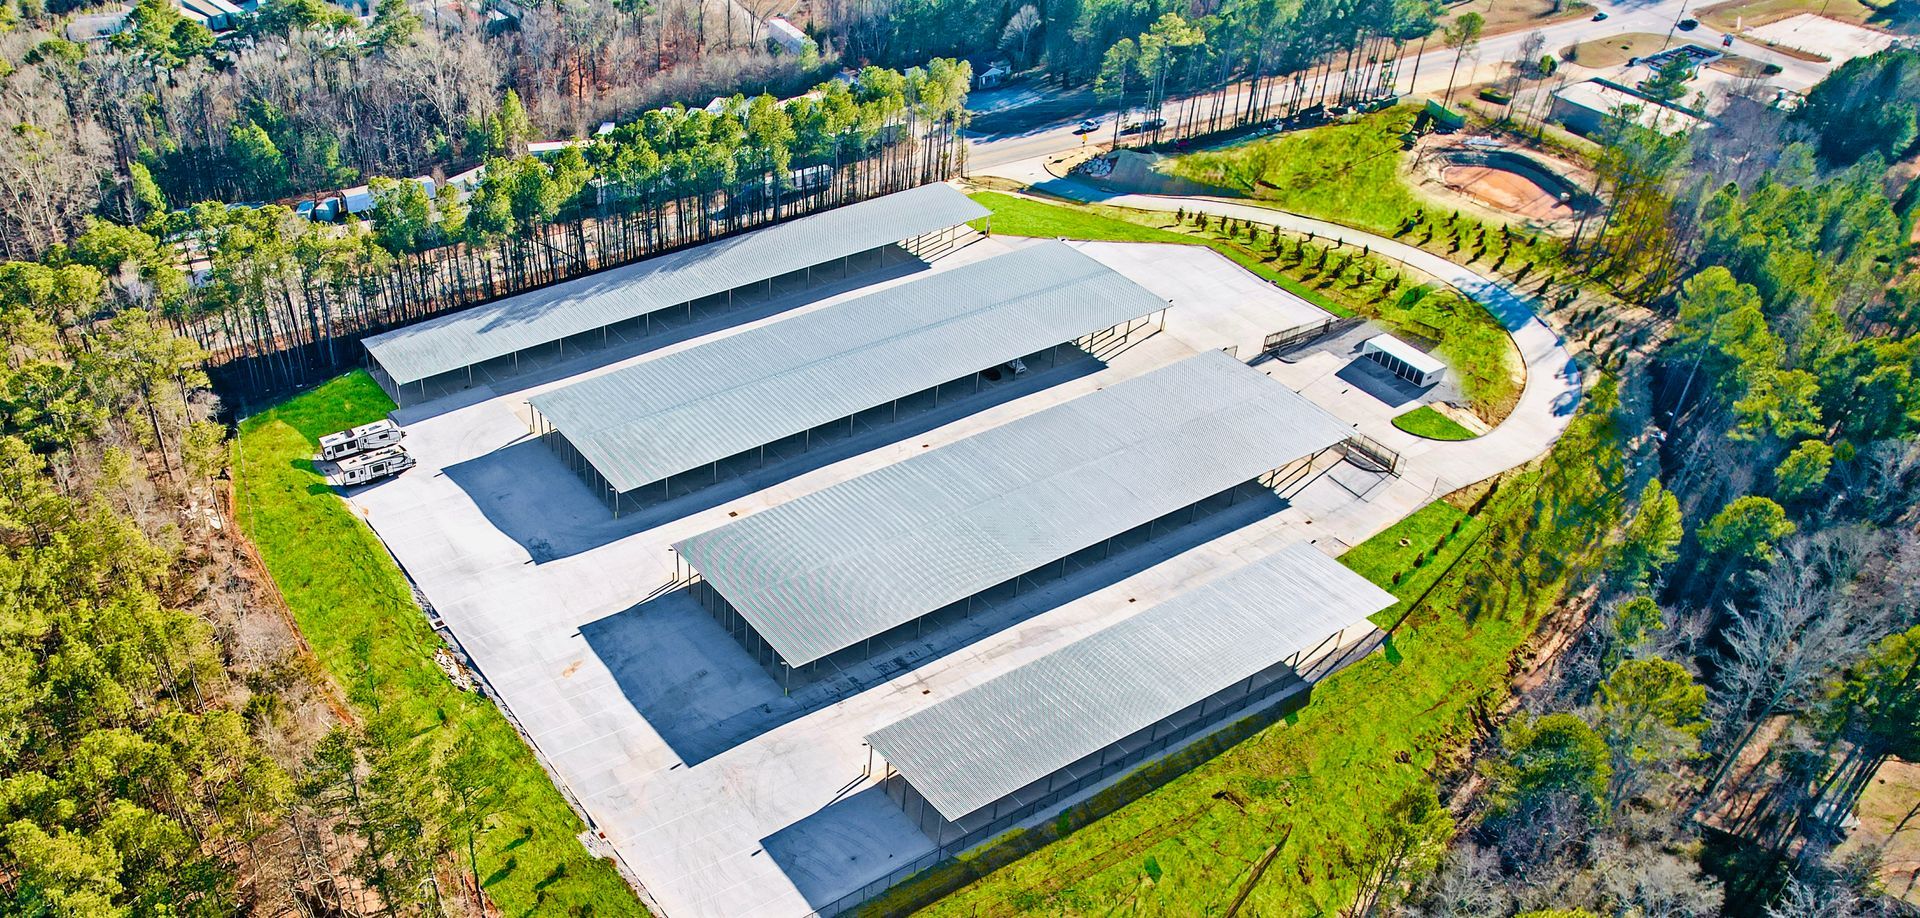
Oxford RV Storage for Campers
Oxford RV Storage accommodates travel trailers and campers of various sizes. The facility offers outdoor and covered storage options with gated access.
Preparation for storage is the owner's responsibility. The facility provides secure space; how well your camper survives storage depends on how thoroughly you prepare it.